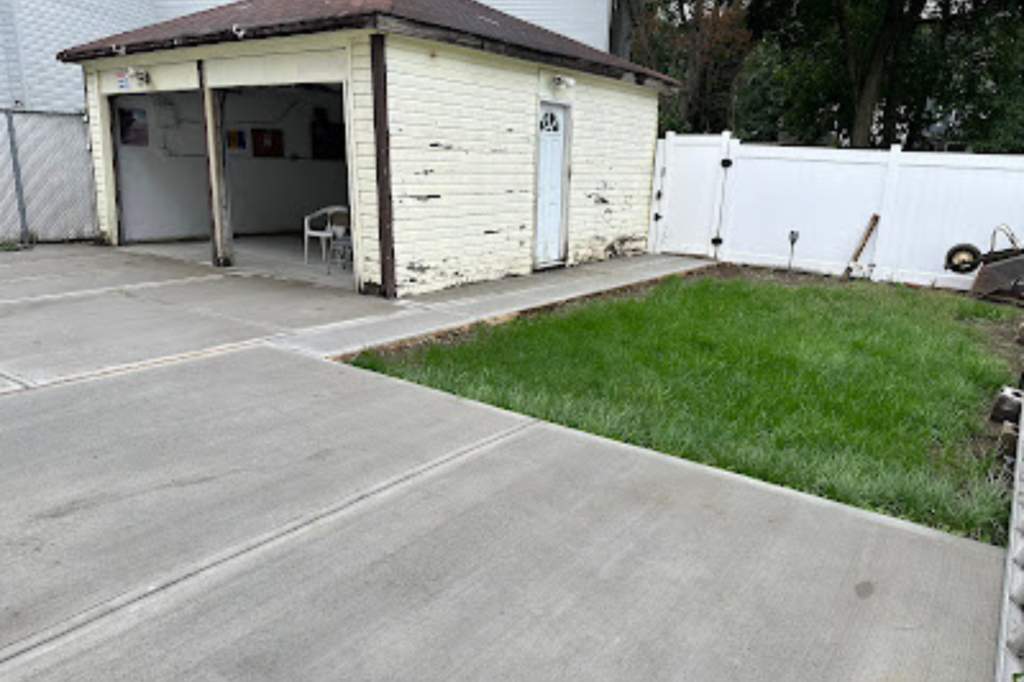
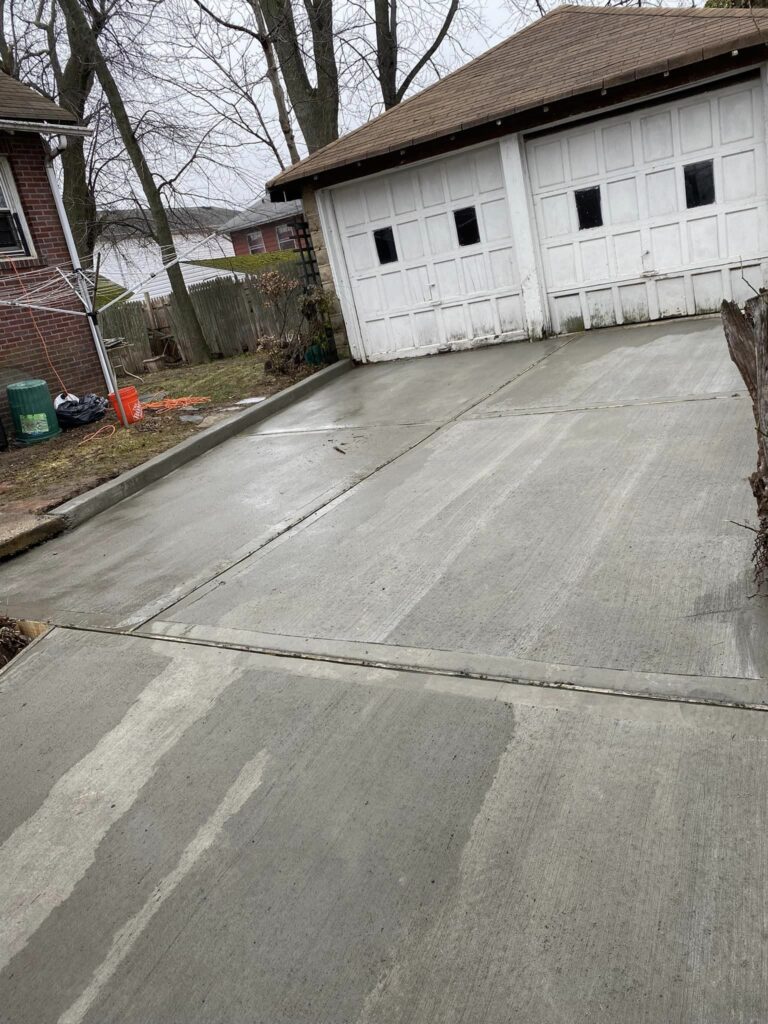
A well-planned driveway paving project can significantly enhance your home’s curb appeal and functionality. Proper planning ensures that the project runs smoothly, stays within budget, and meets your expectations. Here’s a step-by-step guide to help you plan and execute a successful paving project.
1. Define Your Objectives
Start by clearly defining your objectives for the driveway paving project:
- Purpose: Determine how you will use the driveway (e.g., for parking multiple vehicles, as a decorative feature, etc.).
- Design Preferences: Consider the style and materials you prefer. Options include asphalt, concrete, pavers, or gravel.
- Budget: Establish a budget that includes all aspects of the project, from materials to labor and any additional features.
2. Choose the Right Material
Selecting the appropriate paving material is crucial for both aesthetics and functionality:
- Asphalt: Durable and cost-effective, ideal for high-traffic areas. Requires periodic maintenance.
- Concrete: Offers a clean, modern look with various finishing options. Prone to cracking but highly customizable.
- Pavers: Provide a decorative and customizable option with interlocking designs. Can be more expensive but are durable and easy to repair.
- Gravel: Economical and low-maintenance, but can shift over time and may require periodic replenishing.
3. Plan the Design
Develop a detailed design plan for your driveway:
- Dimensions: Measure the length, width, and any curves or angles of your driveway. Accurate measurements are essential for material estimates and ensuring proper installation.
- Layout: Decide on the layout, including any additional features like borders, edging, or drainage solutions. Consider how the driveway will integrate with existing landscaping and structures.
4. Obtain Permits and Approvals
Check if you need permits or approvals before starting the project:
- Local Regulations: Consult with your local municipal office to understand zoning laws, permit requirements, and any restrictions.
- HOA Approval: If you live in a community with a Homeowners Association (HOA), check their guidelines and obtain approval if necessary.
5. Hire a Reputable Contractor
Finding a reliable paving contractor is crucial for a successful project:
- Research: Look for contractors with good reviews and a solid reputation. Ask for recommendations from friends, family, or neighbors.
- Quotes: Obtain detailed quotes from multiple contractors. Compare prices, services, and timelines.
- Credentials: Verify that the contractor is licensed, insured, and has experience with the type of paving you’re planning.

6. Prepare the Site
Site preparation is essential for a successful paving project:
- Clear the Area: Remove any existing pavement, debris, or obstacles. Ensure the site is accessible for the equipment and materials.
- Excavation: Excavate the area to the appropriate depth, considering the base layer, paving material, and any drainage needs.
- Base Layer: Install a base layer of crushed stone or gravel to provide a stable foundation for the paving material.
7. Install the Paving Material
Follow the appropriate installation steps for your chosen material:
- Asphalt: Apply a base coat, followed by a top coat. Ensure proper compaction and allow the asphalt to cure.
- Concrete: Pour the concrete, using forms to shape the edges. Use finishing techniques like stamping or staining as desired. Allow time for curing.
- Pavers: Lay the pavers in the desired pattern, using a sand base and ensuring proper alignment and leveling.
- Gravel: Spread the gravel evenly, adding a border if necessary to keep the gravel in place.
8. Address Drainage and Edging
Proper drainage and edging are essential for durability:
- Drainage: Ensure that water drains away from the driveway to prevent pooling or erosion. Consider installing drainage systems or grading the area to direct water flow.
- Edging: Install edging materials, such as bricks, concrete curbs, or landscape timbers, to define the driveway and prevent material shifting.
9. Final Inspection and Touch-Ups
Once the installation is complete, conduct a final inspection:
- Check for Issues: Inspect the driveway for any imperfections, such as uneven surfaces or gaps. Address any issues with the contractor.
- Clean-Up: Remove any construction debris and clean the area. Ensure that the driveway is ready for use.
10. Maintenance and Care
Regular maintenance helps extend the life of your driveway:
- Routine Cleaning: Keep the driveway clean by removing debris, leaves, and stains.
- Repairs: Address any cracks or damage promptly to prevent further deterioration.
- Sealing: Depending on the material, apply sealant periodically to protect the surface and enhance durability.
Planning and executing a driveway paving project involves careful consideration and attention to detail. By defining your objectives, selecting the right materials, preparing the site, and working with a reputable contractor, you can achieve a successful and satisfying result. Regular maintenance will help ensure your driveway remains in excellent condition for years to come.

